
Homemade Lard
Homemade lard for tamales, refried beans and Mexican antojitos.
About this Homemade Lard recipe
Learn how to make homemade lard from pork fat. Lard is the essential base of traditional Mexican cooking: fluffy tamales, creamy refried beans, and authentic antojitos. Simple, economical, and far more flavourful than shop-bought.
History and origin of Homemade Lard
Lard is one of the oldest and most essential ingredients in Mexican cooking, with roots that go back to the colonial period. Before the Spanish arrived in the Americas in the 16th century, the indigenous peoples of Mesoamerica cooked with very little fat: they boiled, steamed, and roasted on the comal or in earth ovens, and frying was practically unknown. It was with the introduction of the pig by the Spanish conquistadors that lard began to transform Mexican cooking radically. During the colonial period, pork fat quickly became the most widely used cooking fat in Mexican homes, both in the convent kitchens where nuns perfected mestizo recipes and in the everyday kitchens of markets and humble households. Lard made it possible to create softer doughs, to fry foods with incomparable flavour and to give texture to preparations that are now icons of the national cuisine. Tamales, perhaps the most emblematic food in Mexico, depend fundamentally on lard to achieve the light, fluffy, flavoursome masa that defines them. Without well-beaten lard, the dough turns out dense and heavy. Refried beans also owe much of their creaminess and flavour to this golden fat. Chicharrones, carnitas, sopes, gorditas and dozens of regional antojitos have lard as their culinary soul. Over time, industrialisation brought hydrogenated commercial lard and vegetable oils, which displaced homemade lard in many households. Even so, the cooks most attached to tradition know that homemade lard, rendered slowly over a low heat from fresh pork fat, has a flavour, aroma and texture that no industrial product can match. Today, with renewed interest in traditional cooking and artisan products, homemade lard is enjoying a well-deserved revival in Mexican kitchens all over the world.
Estimated cost
£5.07
Total cost
£0.51
Per serving
* Approximate prices based on UK supermarkets
Nutritional information per serving
120
Calories
0g
Protein
0g
Carbohydrates
13g
Fat
0g
Fibre
15mg
Sodium
* Approximate values. May vary depending on ingredients used.
How to make Homemade Lard
- 1
Cut the pork fat into small pieces approximately 2-3 cm in size. If there are any pieces of skin or meat attached, remove them. The smaller the pieces, the faster and more uniform the rendering will be.

💡 Ask your butcher for back fat or uncured fatback. The fresher the fat, the better quality lard you will get.
- 2
Place the pieces of fat in a heavy-bottomed pot or casserole over medium-low heat. Add the 250 ml of cold water. The water helps the fat render gradually and evenly without burning. You will hear a lot of bubbling at the start.

💡 The water prevents the fat from burning at the beginning. Don't be alarmed by the initial bubbling — it is completely normal.
- 3
Leave to cook over low heat, stirring occasionally, for 60-90 minutes. The water will gradually evaporate. The crackling pieces will start to turn golden and the fat will become clear and liquid. Do not raise the heat or the lard will burn and turn bitter.

💡 Patience is key. Low, steady heat is the difference between golden lard and burnt lard.
- 4
Once the crackling pieces are golden and crispy and there is no more water (no more bubbling), add the salt and stir. Remove the crackling with a slotted spoon. The lard should be pale golden and transparent. You can eat the cracklings hot as a snack.

💡 The cracklings are ready when they sink in the lard and are completely crispy.
- 5
Strain the liquid lard through a fine sieve or muslin cloth into sterilised glass jars. Leave to cool at room temperature without a lid. The lard will solidify and turn a creamy white colour. Store in the fridge for up to 3 months or in a cool place for up to 1 month.

💡 Do not seal the jars until the lard is completely cold to avoid condensation.
Rate this recipe

Founder, Recetas Mexas
Mexican from Puebla, IT professional and foodie. Author of 1000+ authentic Mexican recipes adapted for home kitchens worldwide. Based in Madrid since 2018.
Read moreRelated Recipes

Nopal Tabbouleh
Nopal Tabbouleh: a Mediterranean-Mexican fusion recipe with nopales (cactus paddles). Authentic home-cooked flavour, step by step.

Black Beans with Plantain
Soupy Tabascan-style black beans with fried plantain, epazote and garlic.

Vegan Oaxaca-Style Cheese
Vegan Oaxaca-Style Cheese: a Modern Mexican recipe (basics) with cheese. Authentic home-made flavour, step by step.
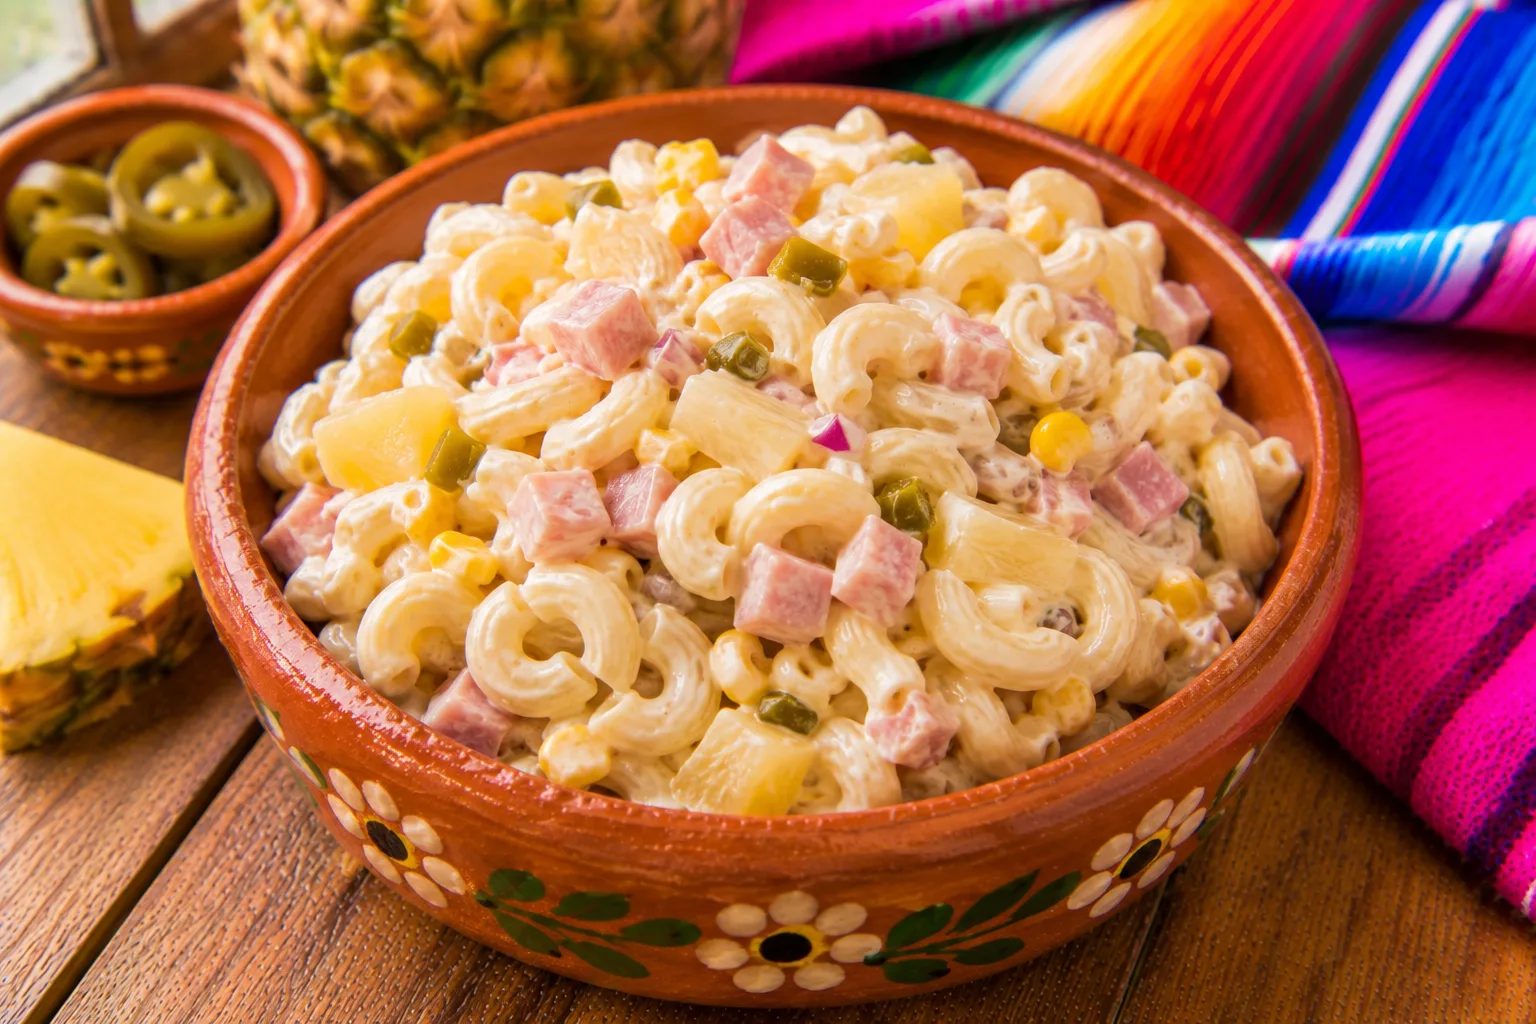
Mexican Macaroni Salad (Ensalada de Coditos)
Cold macaroni with mayonnaise, crema, ham, sweetcorn, pineapple and pickled chillies. Ready in 35 minutes.
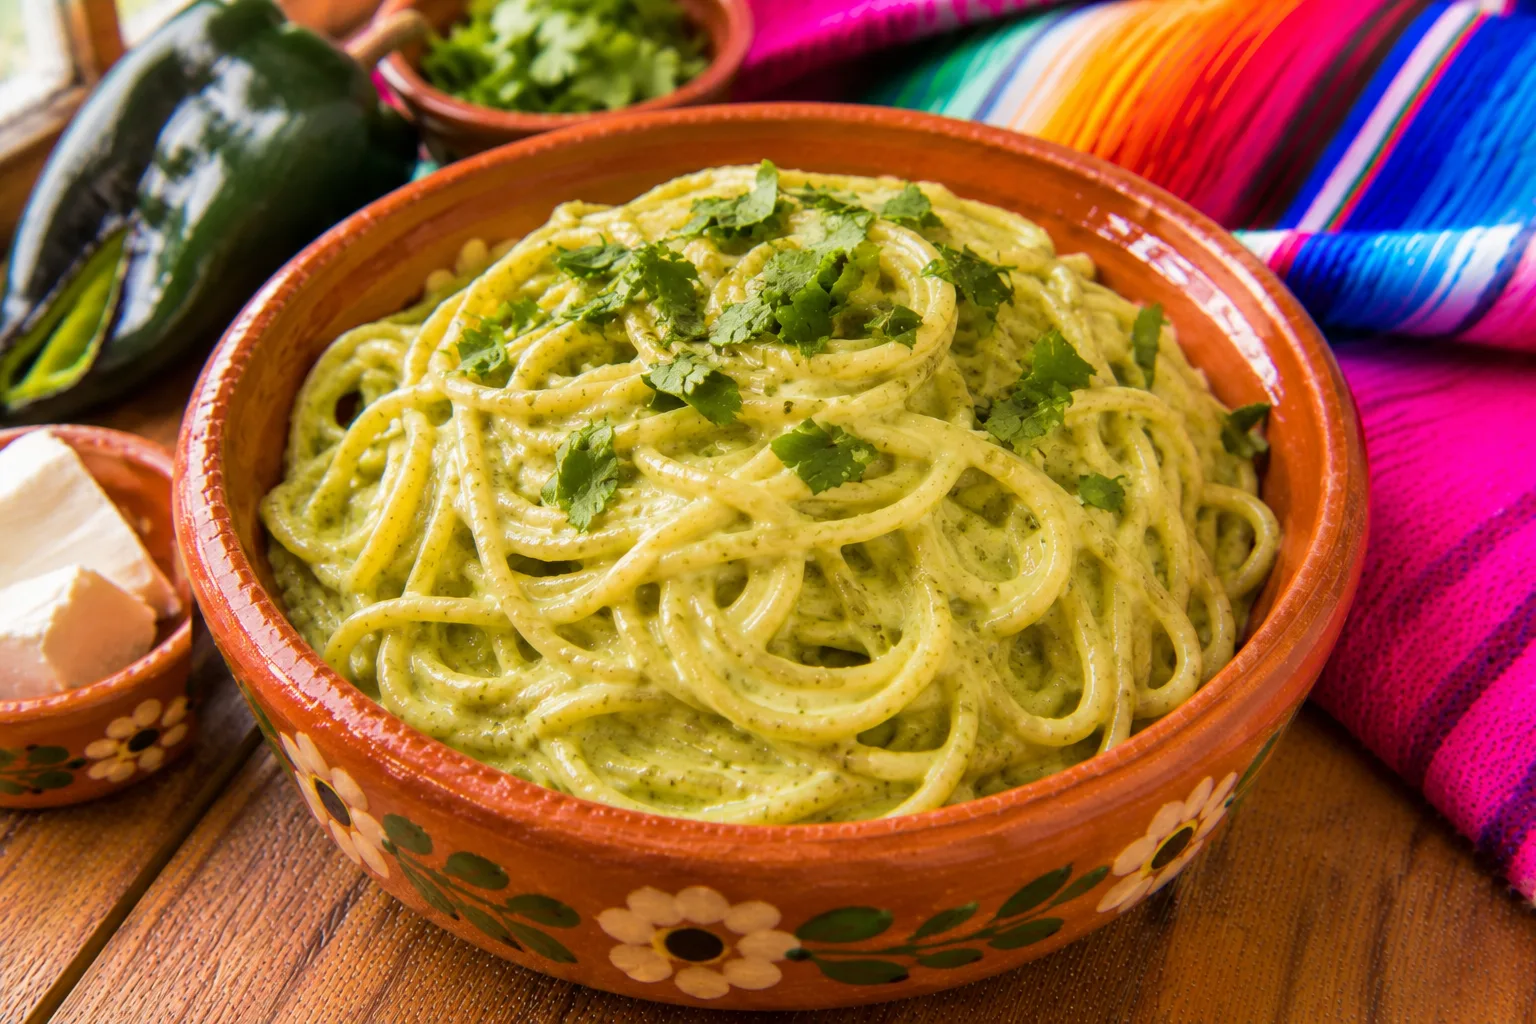
Mexican Green Spaghetti (Espagueti Verde)
Spaghetti in a creamy sauce of roasted poblano chilli, crema, cream cheese and coriander. Ready in 45 minutes.
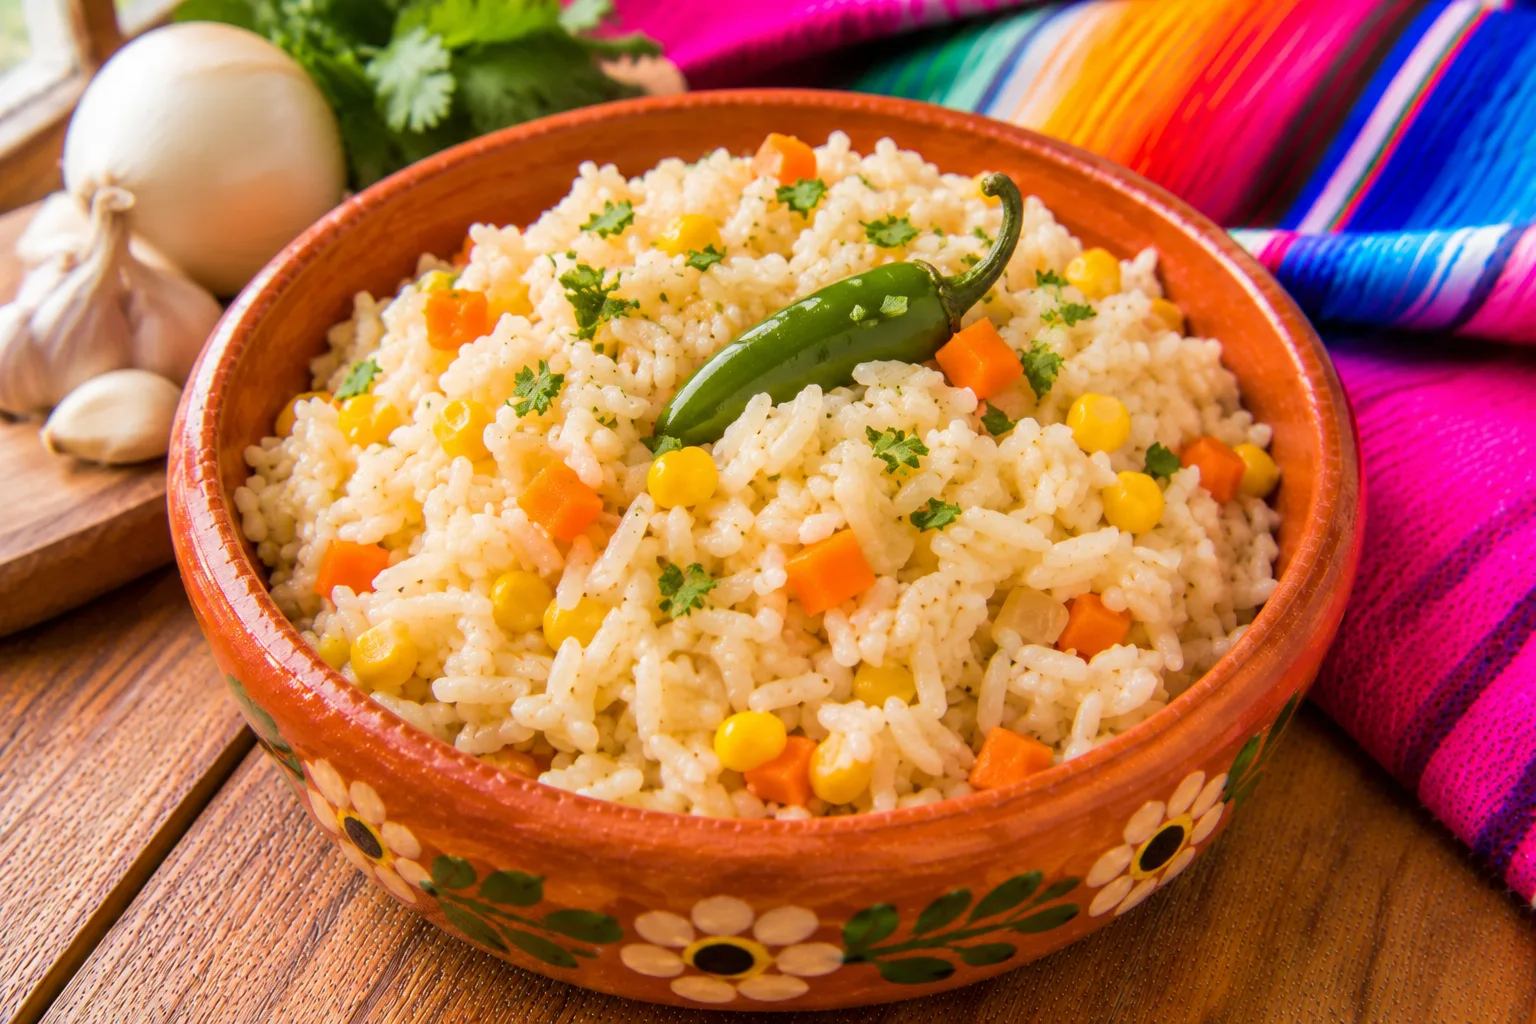
Mexican White Rice (Arroz Blanco)
Rice fried with onion and garlic and cooked in stock with sweetcorn, carrot and a whole serrano chilli. Ready in 40 minutes.

Chilli Strips in Cream
Roasted poblano chilli strips with sweetcorn, onion and cream.

Mexican Red Rice
Fluffy rice cooked in tomato broth, the classic Mexican side dish.
Related Guides
Learn more about these ingredients and dishes
Enjoyed this?
Follow on TikTok for Mexican recipe & restaurant videos, and get updates by email.